

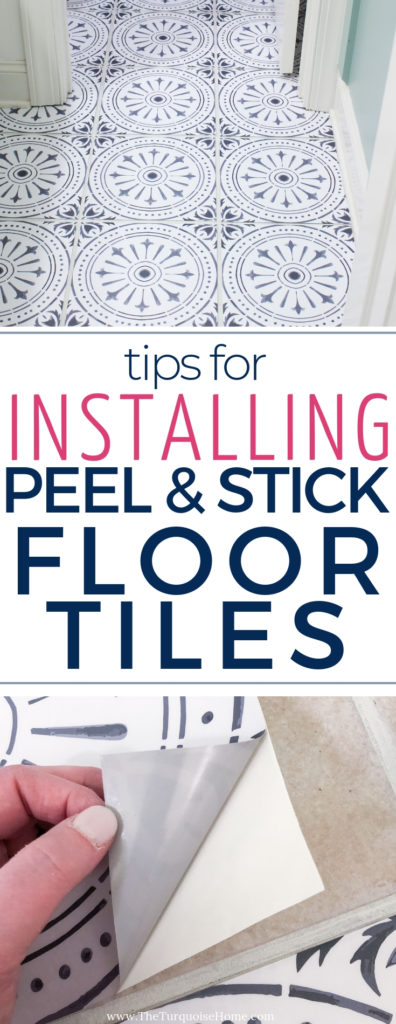
how to install peel and stick tile
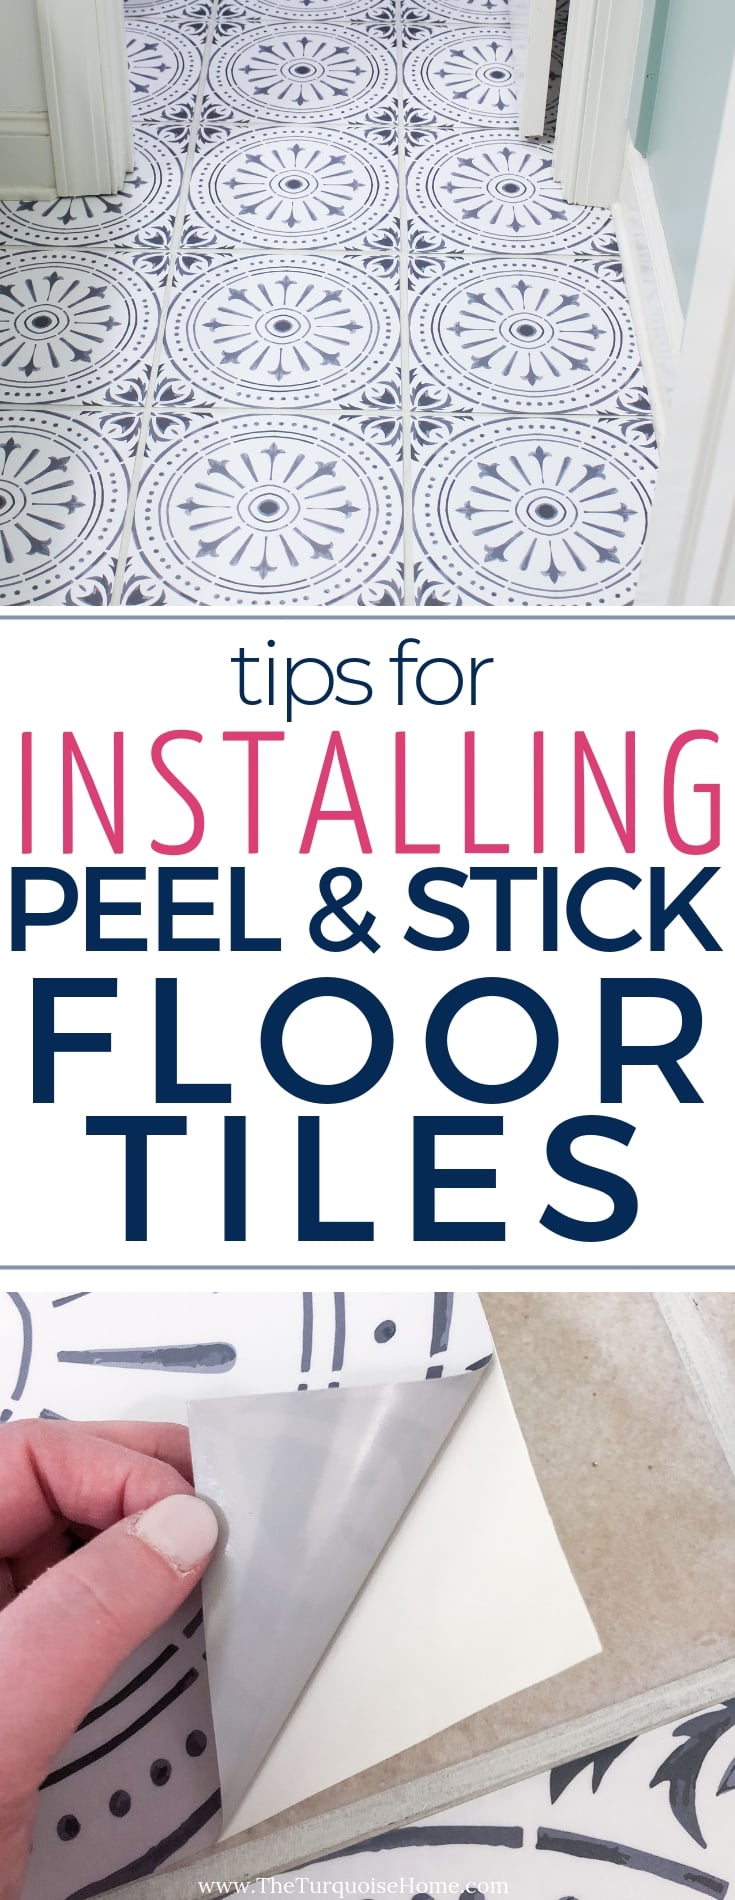
Learn how to apply DIY peel and stick vinyl floor tile and the pros and cons of using it in your home. It is a great solution for a budget-friendly DIY flooring idea: cheaper than replacing the floors and less messy than paint!

I'm a huge fan of simple DIY projects that don't require any demo or a lot of dust. Painting my kitchen cabinets is about as intense of a DIY project I want to do on my house. 😂 Hats off to all of the DIYers who remove cabinets and replace countertops and rip out flooring. But I'm going to need a professional to tackle those jobs at my home. 😜
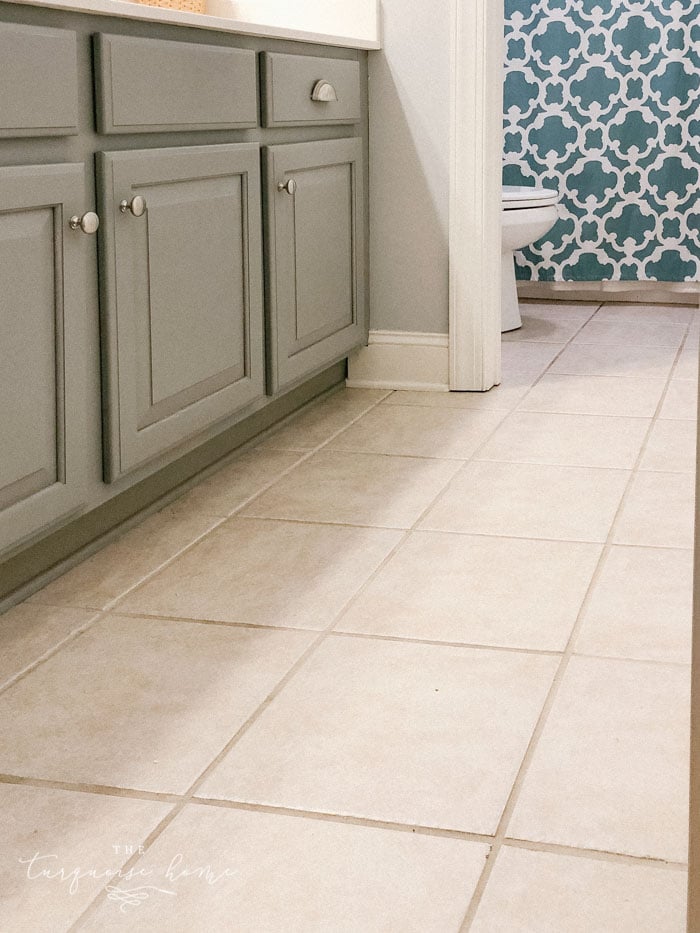
Before the tiles… all the beige floors in the house! I'd already painted these cabinets years ago!
Since we moved into our home with it's beige floors, beige walls and beige cabinets, I've been on a mission to change things up! We have the same exact beige tiles in both of our bathrooms, our laundry room and it's even the tile on our fireplace. Nobody got creative when building this house, that's for sure!
FREE BONUS!
5 Secrets Every Home
Decorator Knows
… to transform your home into your dream home!
So, while I've been wanting to change them for a long time, fear has held me back. I didn't want to:
- Have to demo anything,
- Mess them up permanently,
- Or, do anything too complicated.
I love the look of the moroccan floor tiles you can see everywhere today. And I was planning on stenciling them before I discovered the peel and stick tile option. But the stick on tiles sounded so much easier. Keep reading to see if I would use them on my tiles again. 😉
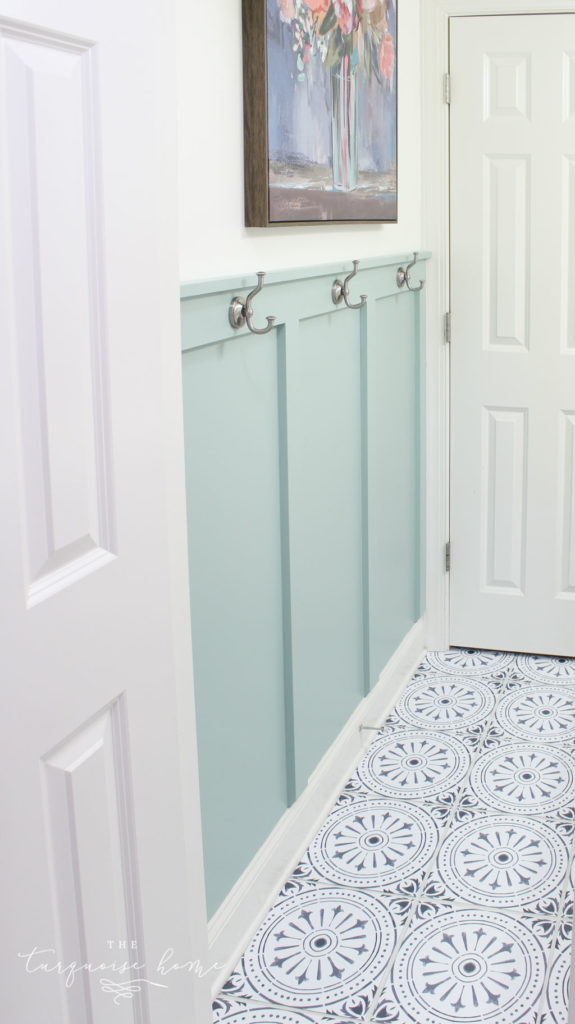
I decided to use them in my girls' bathroom refresh first to get my feet wet. It's a small space and it's for our guests as well, so I wanted to do something fun in there that everyone would see and enjoy.
It took me a little bit to decide on the style I wanted because there are just so many great options out there. I outlined my favorites in this post with 25 options for varying styles of peel and stick vinyl tile flooring. And I finally narrowed it down to this naples tile (click here).
Prep Work
Before you order your tiles, you will need to:
- Calculate how many tiles you will need. I added 3-4 extra tiles to my count just in case I messed some up. I ended up not messing any up, but I like having a few extra in case something happens to one of them.**
- Measure your tiles inside the grout lines. Do not include the grout lines in your measurements. The Etsy shop I ordered from can make your tiles the exact size you need at no extra charge (at the time of this posting).
- Keep reading to find out my exact experience, but in my opinion, you will want to make sure your surface is level before you use vinyl tiles. My tiles were beveled on the edge, which caused me some grief. So, keep reading too make the most informed decision about what tiles to order.
** Be careful to read all of the instructions given to you by the store you buy from in case there are additional prep items.
Supplies You Will Need to Apply Peel and Stick Vinyl Tile
- Vinyl tiles (of course) – I gathered up my favorites in this post (click here), which will give you an idea of all the different options you have out there! You can use them on most any surface (like a backsplash, too), but be sure if you plan to use them in a wet area that they are safe for a kitchen and bathroom, etc. I used this tile (click here).
- Cleaning spray & cloth – I used my Thieves cleaner from Young Living, but you can use any kind of Krud Kutter or other degreaser for cleaning each tile.
- Scissors or Box Cutter – I used scissors to cut my tiles.
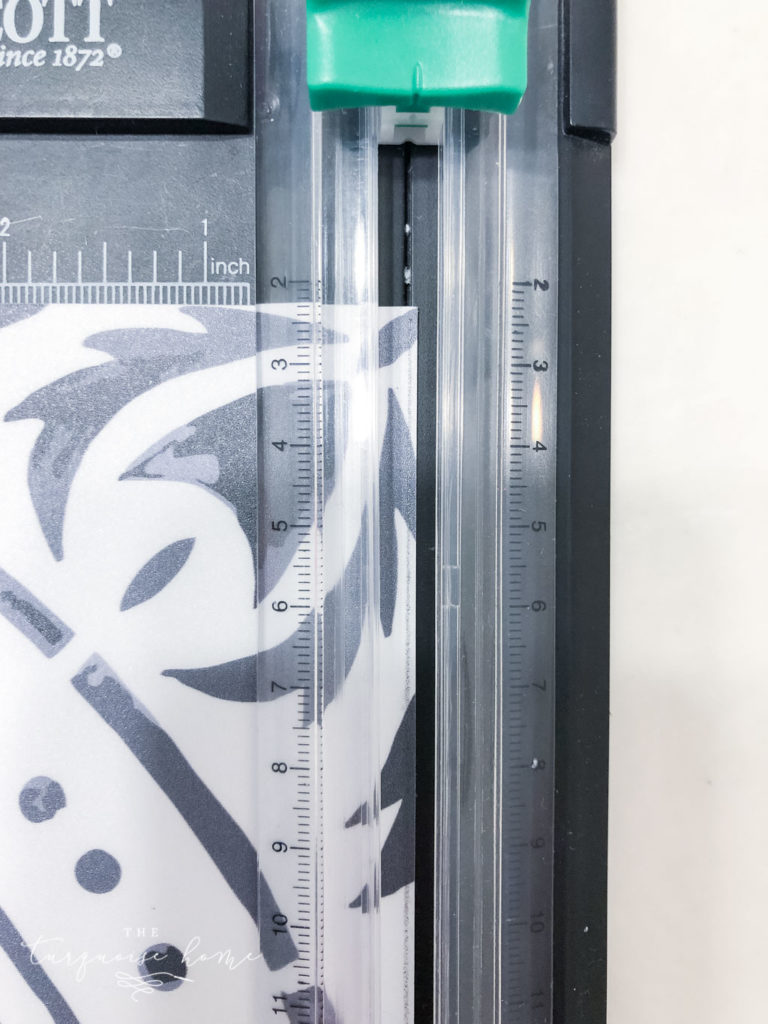
- Paper Cutter , optional – I used mine quit a bit for cutting straight lines, but scissors would work fine, too.
- Pencil
- Wallpaper smoother tool, optional – for smoothing down the tile once it's in place
Steps to Apply Peel and Stick Vinyl Tile
1. Clean your tiles really well. I clean the whole floors first, and then I vacuumed each tile with my stick vacuum and wiped it down with my cleaner before each tile I placed down. Make sure to let the cleaner dry before you apply the vinyl tile.
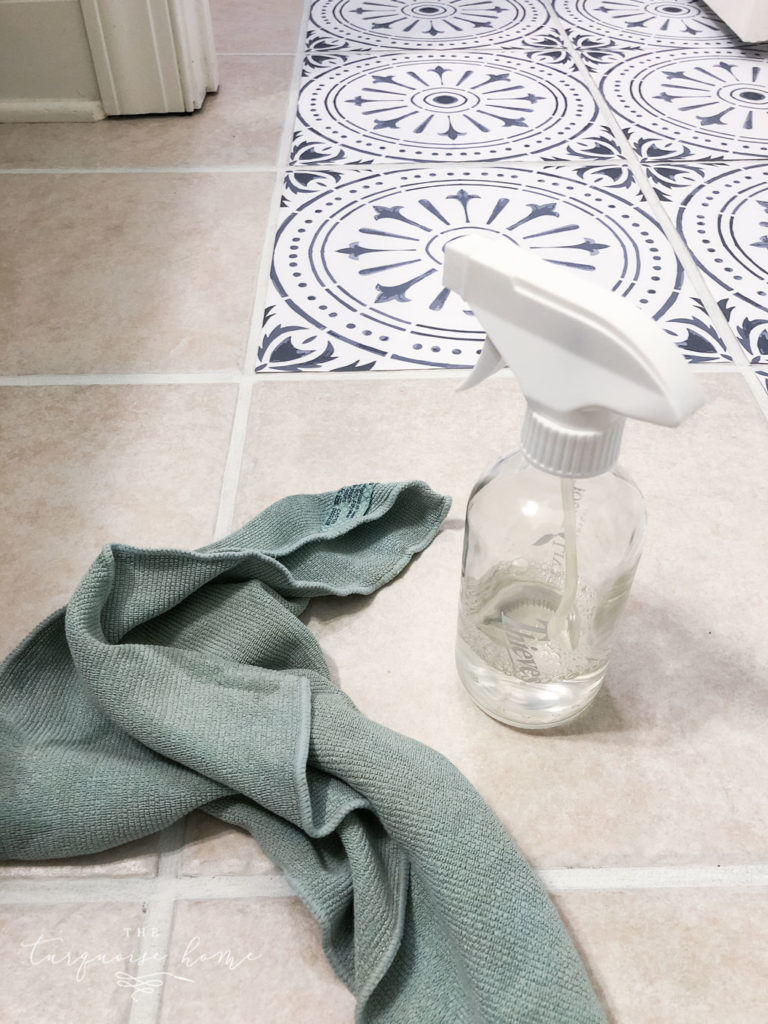
Love my Norwex cloths and Thieves cleaner!
2. Peel back a small strip of the backing and then place the vinyl tile down in place. I found that if you messed up, you could quickly pull it off and reapply. Once the strip is stuck down, peel off the rest of the backing and smooth it down. Work out any bubbles that might have gotten trapped in there.

3. It's not a bad idea to use a wallpaper smoothing tool to go over each tile and press the bubbles out. I used my hand and sometimes would use the side of my paper cutter to go over it. I found they stuck pretty well.
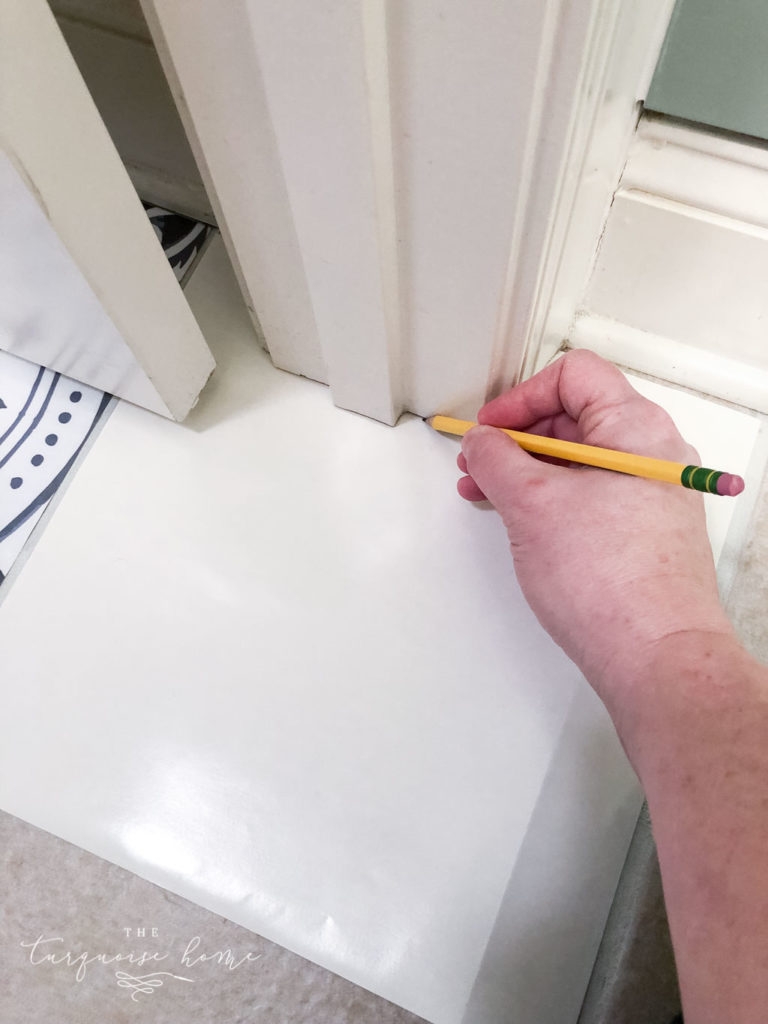
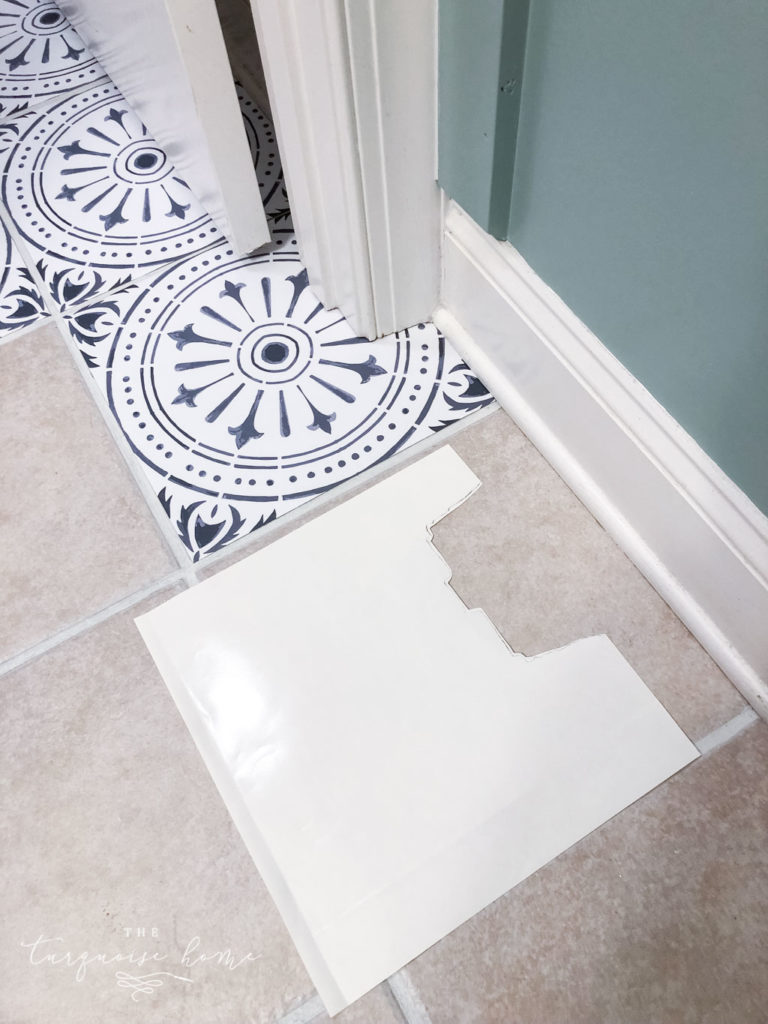
4. Trace out unusual angles or corners or around trim pieces with the back of a used tile. I would use the paper backing of an old tile and trace out where I needed to cut. And then just cut the tile with my scissors. If the trim didn't touch the floor, I left about 1/8th of an inch inside the cut line so that the tile would fit under the trim piece.
That's all! It's a super simple process and easy DIY for a big impact!
Personal Thoughts about my Peel and Stick Floor Tile
First of all the vinyl tile was great! The owners of the Etsy shop cut the tiles perfectly and shipped them to me quickly. No complaints there.
But my issues happened when I realized that my tile on my floors were slightly beveled on the edges. The vinyl tiles aren't meant to wrap around the tiles, so the edges wanted to pop up a bit. My ceramic tiles are also a little bit textured, which was fine on the flat part, but made it difficult for the vinyl tile to grab the beveled edges.
After I put down the first row, I realized that the edges were going to come up too easily and that I didn't think it was going to work.
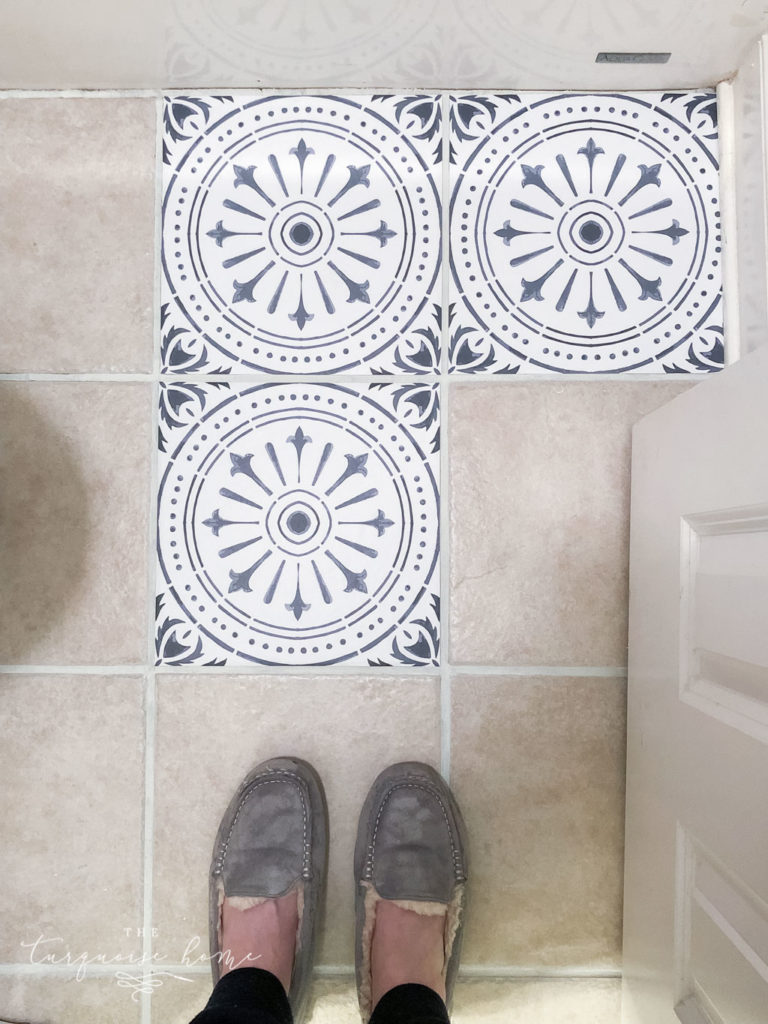
So, I found that if I trimmed off 1/8 of an inch from two perpendicular sides (keeping the tile square, just a 1/4 inch smaller), then my vinyl tiles would cover most of the ceramic tile and wouldn't have to bend as much on the edges.
Does that make sense?? If my tiles were completely flat, this wouldn't have been as issue.
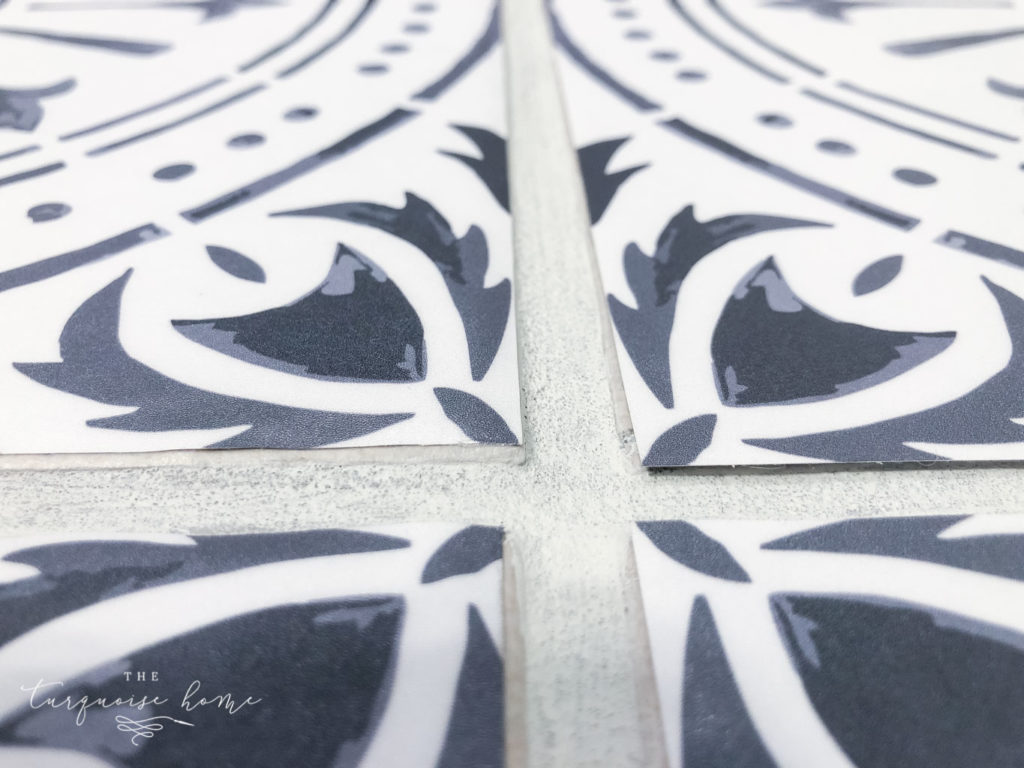
The tiles on the left were trimmed smaller than the tiles on the right, so you can see how they look like the overhang on the right.
And honestly it may not even be an issue. I haven't had them coming up at all, but my fear is that someone or something is going to catch a corner of a tile and it's going to just peel off. Only time will tell – and I WILL do a follow up in probably a year to see how they've held up. But in the meantime, I'm just waiting for one of my kids to come yelling that they've lifted one off the tile. Maybe I'm just paranoid? We'll see. Like I said, so far, so good.
You DO want to wait 24 hours after laying the vinyl tile before using it and 72 hours before you get it wet. So, there is some curing time for the adhesive. Hopefully it will all stay put. #fingerscrossed
What I would do it differently if I had to do it over again…
Since my tiles were beveled on the edge …
- I would have leveled the floor by filling in the grout lines with thin-set mortar or leveling compound and getting the grout lines printed on the vinyl tiles.
- Or, I would have just gone with the stencil, because then it wouldn't matter if it was beveled or not! 🤪
Final thoughts …
I think the peel and stick vinyl tiles are fabulous! I would 100% use them again in my home. But I think they would be best suited for covering a flat surface, either linoleum, flat tiles, wood or a floor that has been leveled.
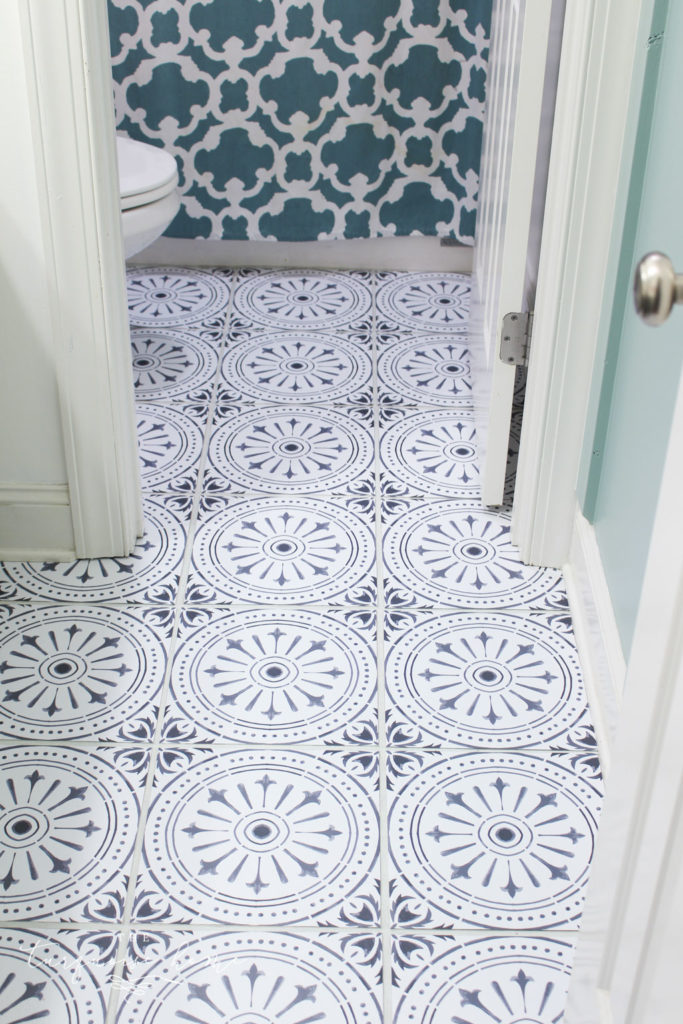
They ARE so pretty – aren't they?!
I hope this helps you make your decision about peel & stick vinyl tiles. I kept telling myself that if it didn't work, then it was a small price to pay for trying something new! It wasn't going to break me if they didn't work out. 😊
Have you used peel and stick tiles in your home? Or do you want to use them in your home?? Leave your thoughts and experience, tips and tricks in the comments below!
Want to See More of the Bathroom Plans & Projects ?
The Girls' Bathroom Refresh Mood Board
How to Patch a Hole in Drywall
The Best Peel & Stick Vinyl Tiles
Girls' Bathroom Makeover Progress
DIY Board and Batten in the Girls' Bathroom
How to Make Grout White Again
how to install peel and stick tile
Source: https://theturquoisehome.com/diy-peel-and-stick-vinyl-floor-tile/
Posted by: semanwouspor.blogspot.com
0 Response to "how to install peel and stick tile"
Post a Comment